
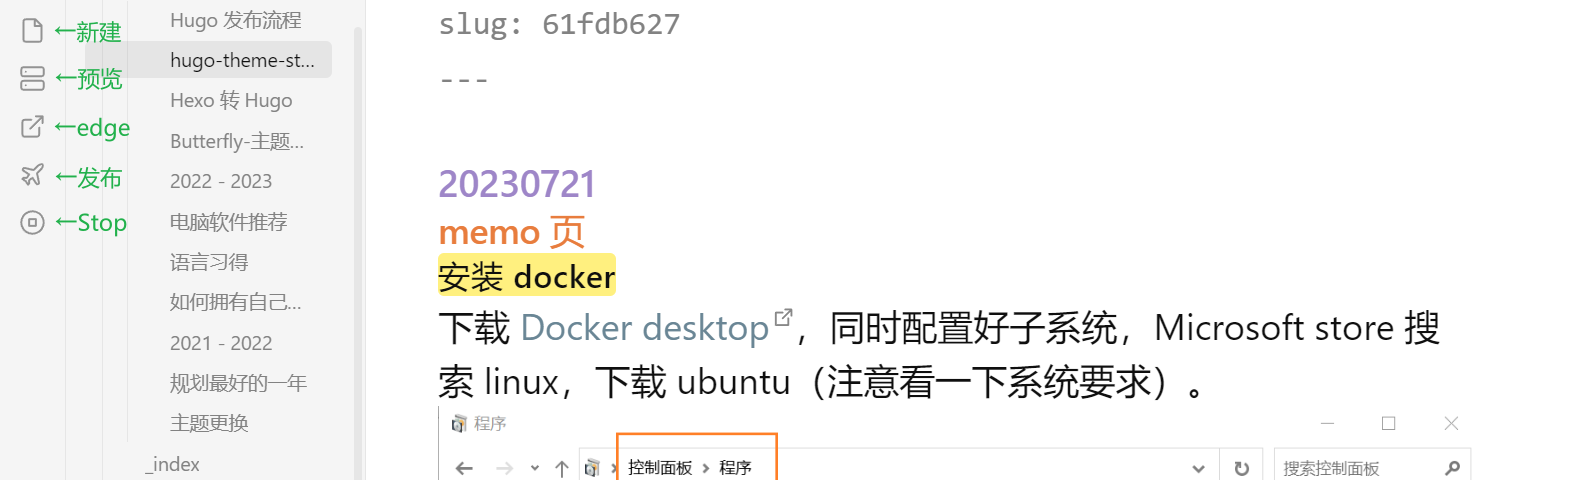
现流程
- 点击 Obsidian 左栏 【新建】,输入
想要的标题名 - 写文章
- 修改 frontmatter:添加 tags、categories,删除时间秒后的内容,draft: false
- 点击 Obsidian 左栏 【预览】、【edge】,检查有无错误,进行修改
- 点击 Obsidian 左栏 【发布】,等一会儿即可看到上传文章
所有操作都能在 Obsidian 内完成,非常方便哈哈哈✌
配置教程在 → [Hexo 转 Hugo#Step6:Obsidian 发布]
webstack 导航
#本地预览
hugo server
#生成包含草稿的静态文件
hugo -D
#将当前目录下修改的所有代码从工作区添加到暂存区 . 代表当前目录
cd public
git add .
#将缓存区内容添加到本地仓库,Initial 为注释,可随意更改
git commit -m "Initial"
#将本地版本库推送到远程服务器
git push -u origin master
#退回上一级目录
cd ..
原流程
- 右键 Hugo 所在文件夹,打开【Git Bash】 ,使用
hugo new post/文章名.md新建文章 - 写文章
- 修改 frontmatter:添加 tags、categories,删除时间秒后的内容,draft: false
hugo server本地预览,CTRL + C 停止预览,hugo生成页面git init,git add .,git commit -m "备注",git push -u origin master
命令全部手打,有点儿浪费时间
退回到上一次 push
做好备份!
# 查看提交历史
git log
# 回退到正常的提交,hard 后方填那次 commit 的那串数字
git reset --hard ff12ea0
# 强制推送到远程仓库
git push --force

#将本地修改存储起来,放到暂存区
git stash
#把远程库中的更新合并到(pull=fetch+merge)本地库中,rebase 作用是取消掉本地库中刚刚的 commit,并把他们接到更新后的版本库之中。
git pull --rebase origin master
#清除整个暂存的内容
git stash clear
其他命令
#重新生成页面,清空目录
hugo --cleanDestinationDir
# 重设代理(端口和 IP 修改为电脑 设置 —— 网络和Internet —— 代理 —— 地址、端口)
git config --global http.proxy http://127.0.0.1:7890
git config --global https.proxy http://127.0.0.1:7890
# 取消代理
git config --global --unset http.proxy
git config --global --unset https.proxy
# 查看代理
git config --global --get http.proxy
git config --global --get https.proxy
注:封面来自 Unseen Studio 。